Managing Access Keys
To manage your workload, you might wish to share reports for a project with someone else within your organization or with a third party. Access Keys enable this. Paid plans for The Crawl Tool come with a generous number of access keys to use.
Creating an Access Key

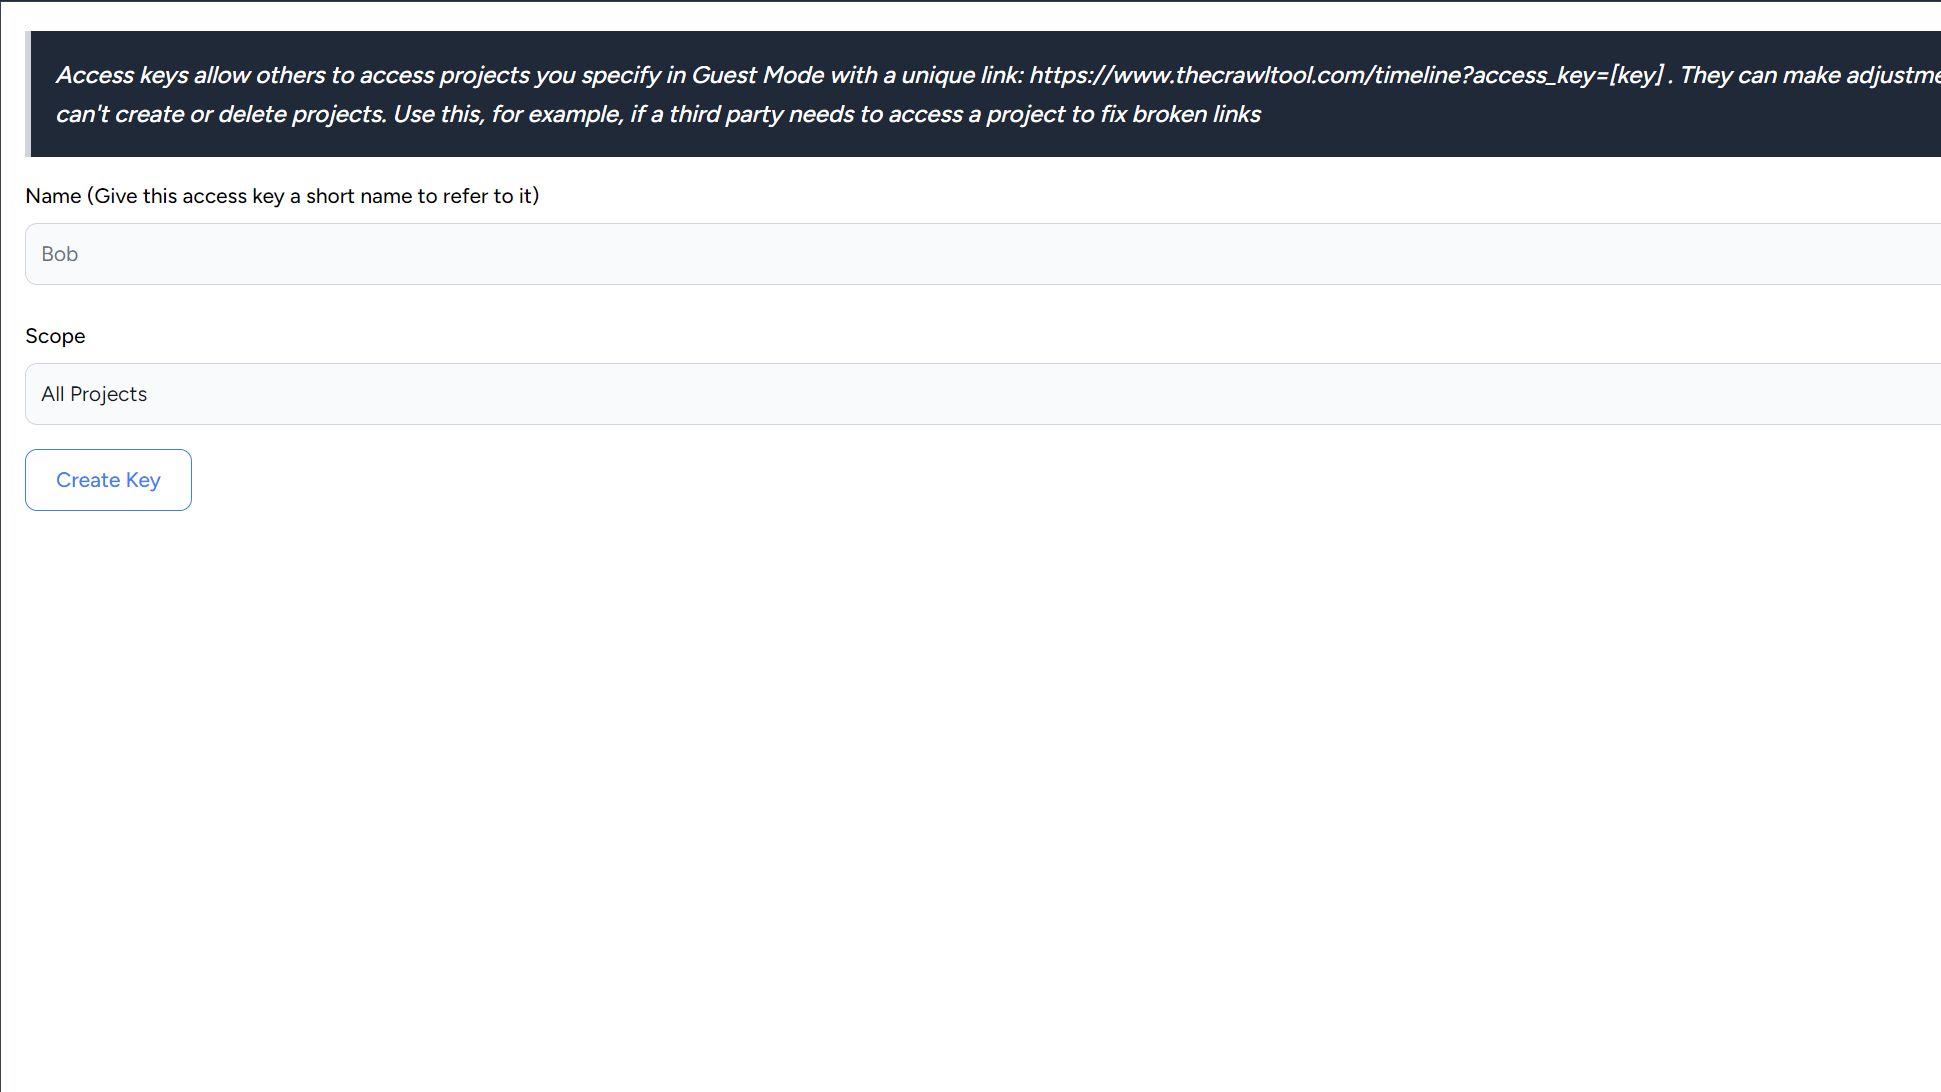
Creating an Access Key is simple. Click "Add Access Key" on the side menu and you will be presented with the screen to add an access key.
In the "Name" box you will in the name for the key. This is the name that will be used to refer to this user in the system. For example, if you assign a task in a project to someone then this will show as an option.
Under scope you have two choices. "All Projects" or "Specific Projects". All Projects will automatically enable access to every project you have for this access key. If you set it to "Specific Projects" then you will be able to set which projects it can access (you can change this later).
Clicking on the "Create Key" button will create the key and send you back to the timeline.
Managing the Key
On the side menu under Access Keys you will now have a key listed with the name you gave it. If you click on it it will show the details.
At the top you will see a line of text like:
Unique link to give to others: https://www.thecrawltool.com/?access_key=mylvev0s7gauhqpp1zkiw5gxmp
You can give this link to others that you want to access your projects. Because of the access_key at the end, they will not need to login. You should keep this link private between you.
Managing Key Project Access
On the same screen you will see a list of checkboxes with all Projects you have. By checking/unchecking them and clicking Save changes you can adjust what projects it has access to - for example, if you add a new project you would like it to access.
Additionally there will be a Delete Key button - this will remove access for that key.