Your First Crawl
Using The Crawl Tool is easy. Let's run through a crawl scenario to show you just how simple it is. Let's say we want to analyze The Crawl Tool website itself. The Crawl Tool can give you lots of information, but for our scenario let's say we're interested in knowing what the most important pages are. After signing up and logging in you can click the Add Project link on the left menu. You'll see a screen like this.
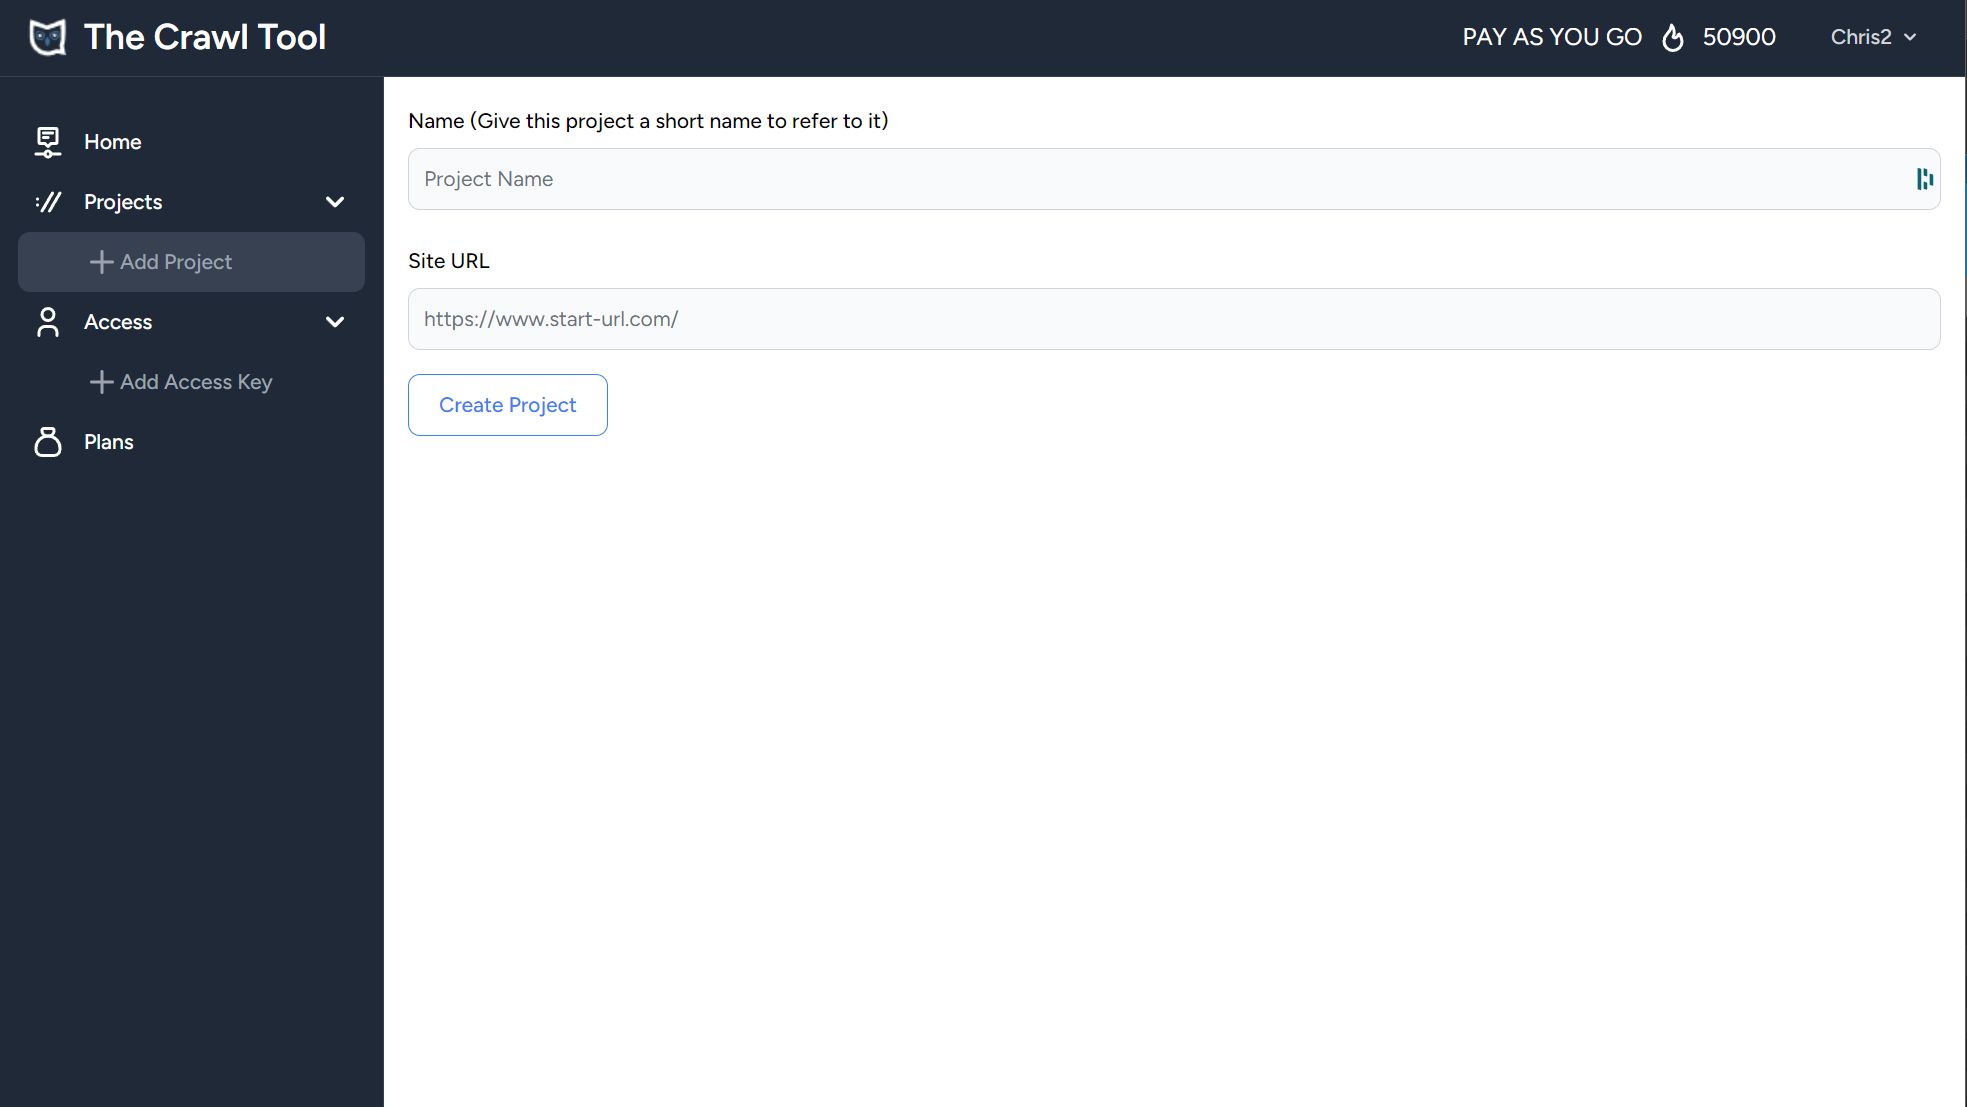
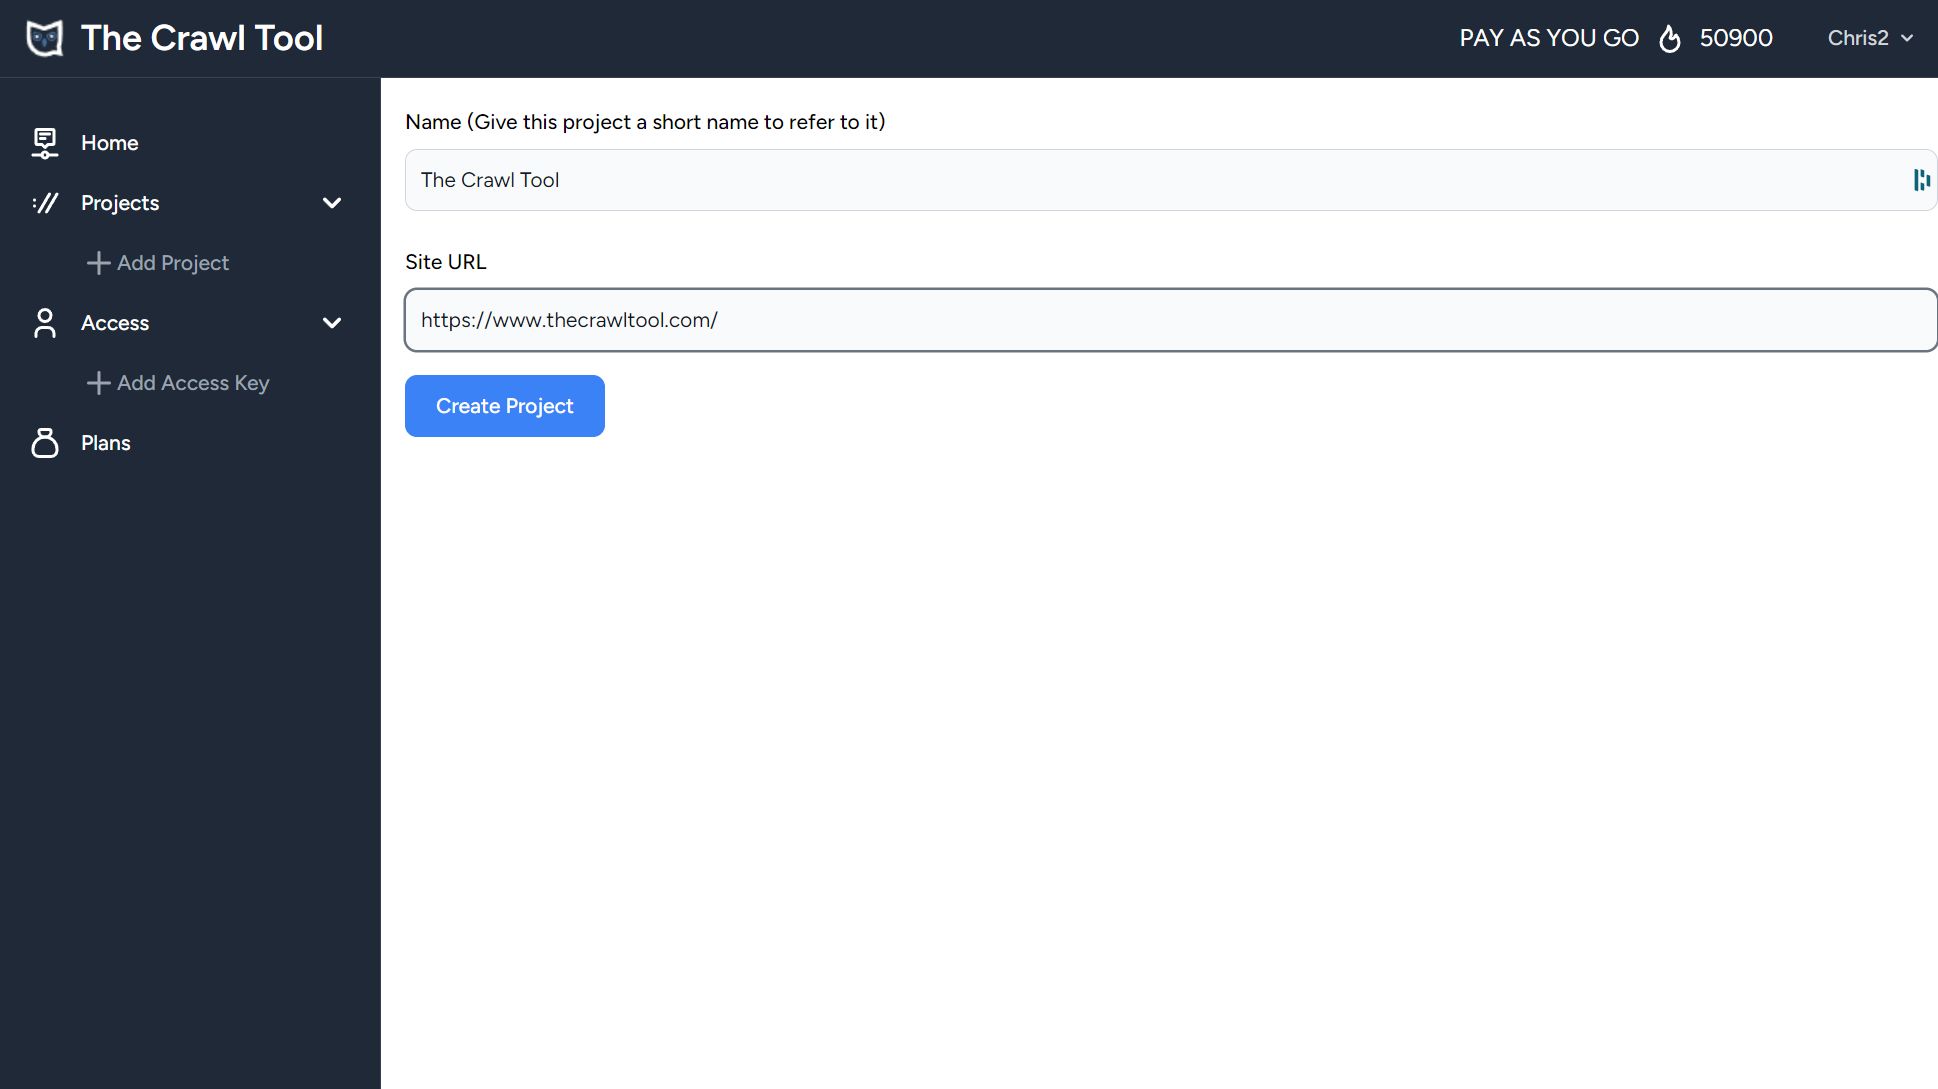
For our purposes we'll write "The Crawl Tool" in the Project Name box, https://www.thecrawltool.com/ in the Site URL box, and click create project. You might want to put your own website details in there.
After you click "Create Project", it'll send you to the project page. You haven't crawled anything yet so this page will just give you some handy information about the crawl process. It's worth taking the time to read it.
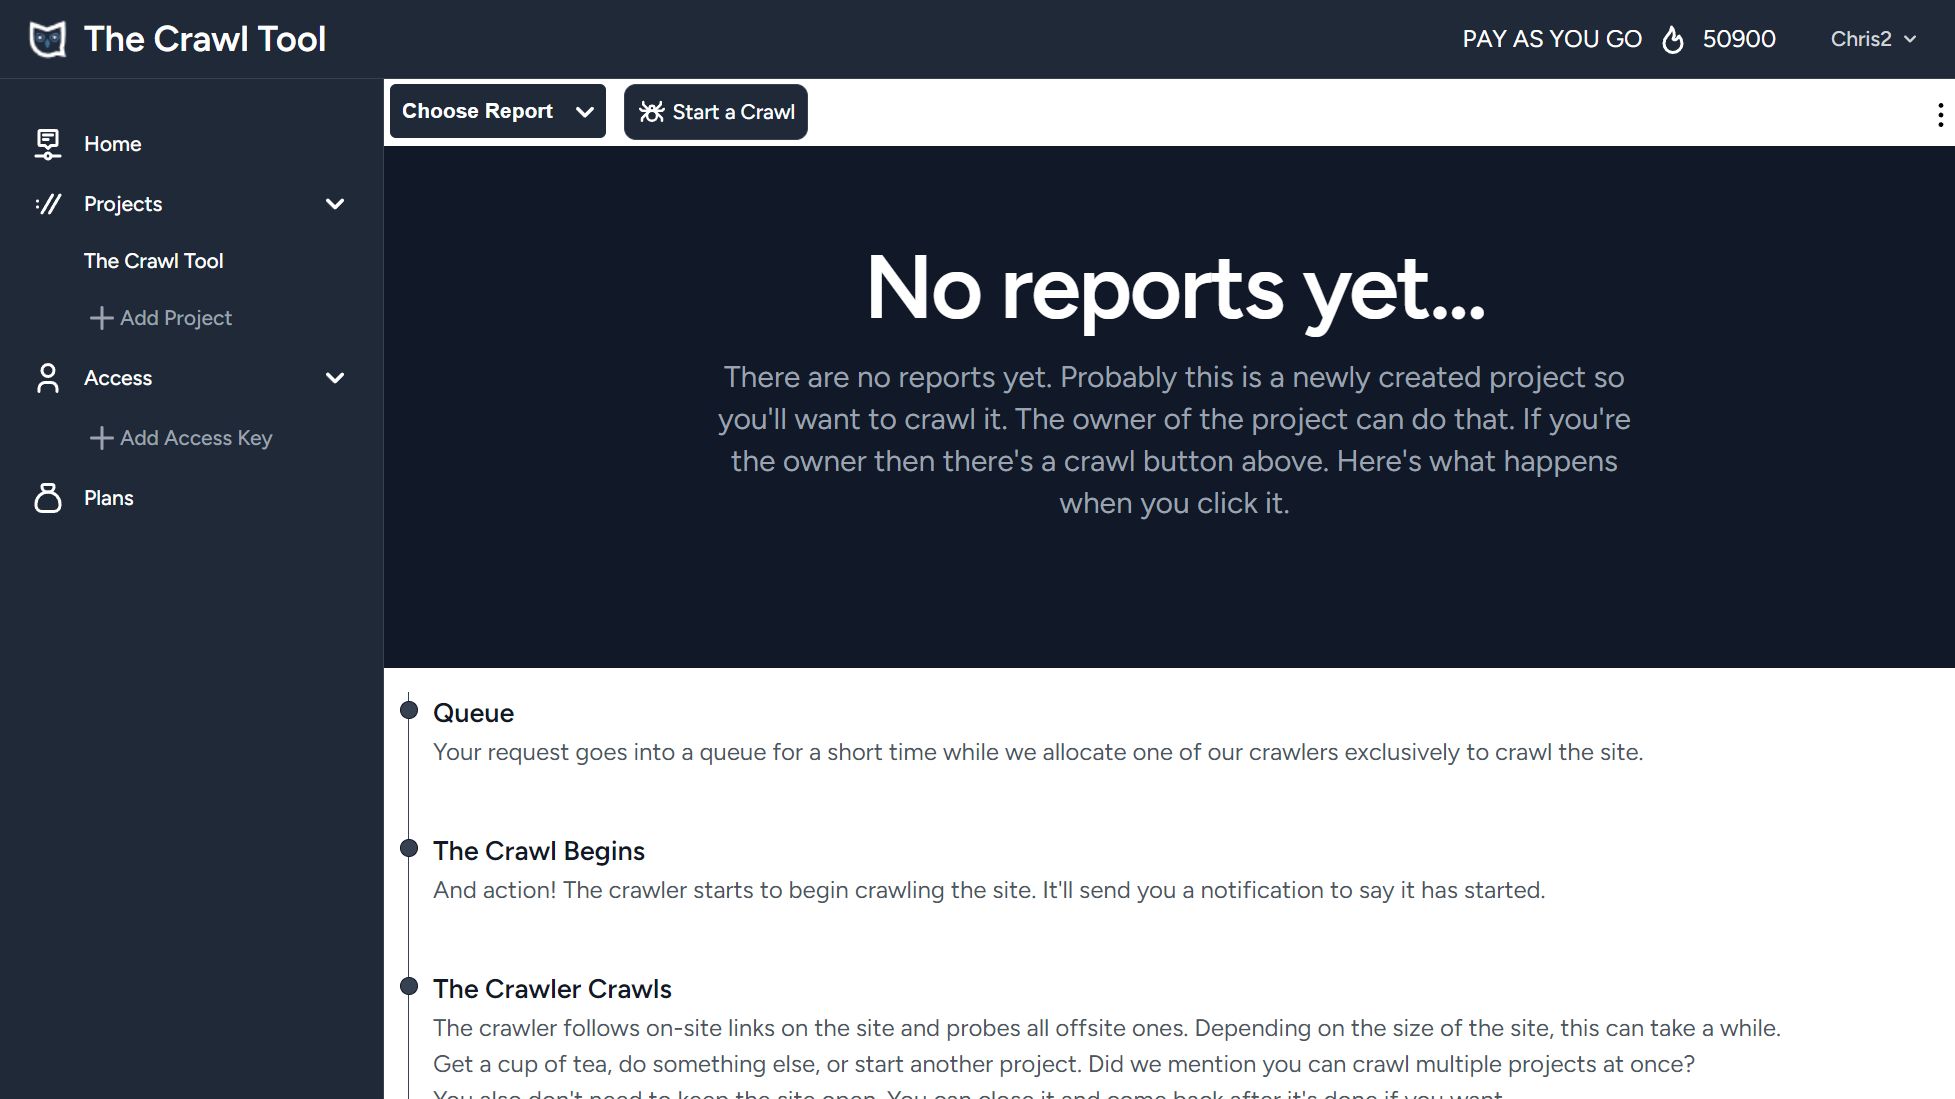
Click on the "Start A Crawl" button at the top. Before long you'll notice some notifications come up at the top right of the screen.
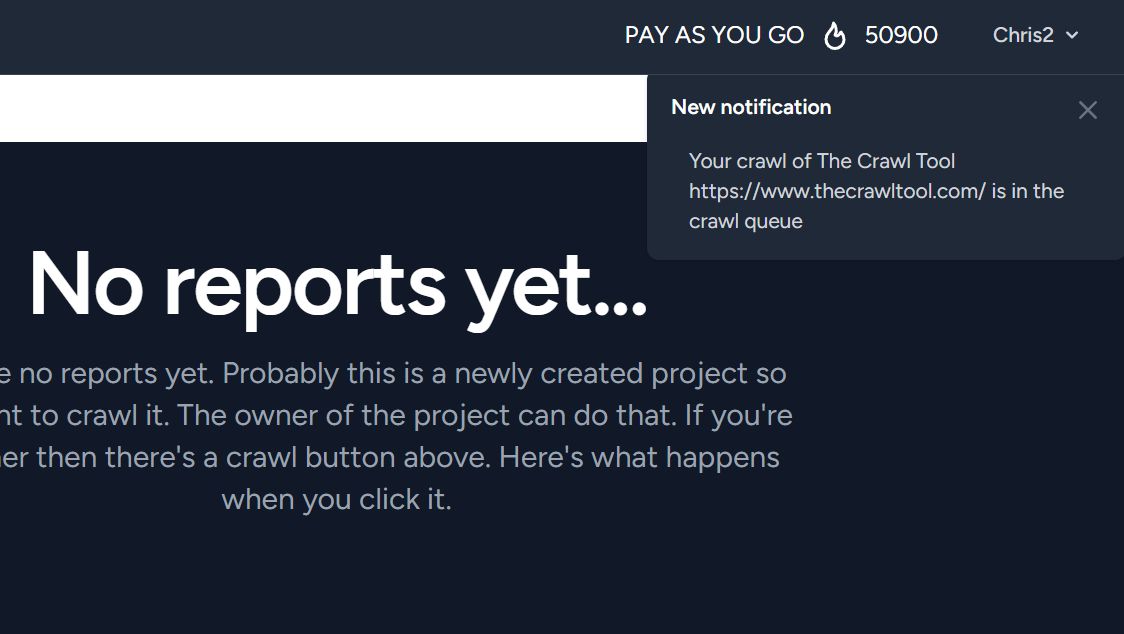
These notifications will change as the various stages of the crawl process complete. The stages are "in the crawl queue", "crawling", and "crawl completed". In the example we're doing there's not a lot of pages to crawl so it will crawl quickly. The tool is nice to sites so doesn't overload them. Larger sites will therefore crawl slower. You don't have to wait around or keep this page open. The Crawl Tool will email you when the crawl is done. Here we've waited and we get this notification:
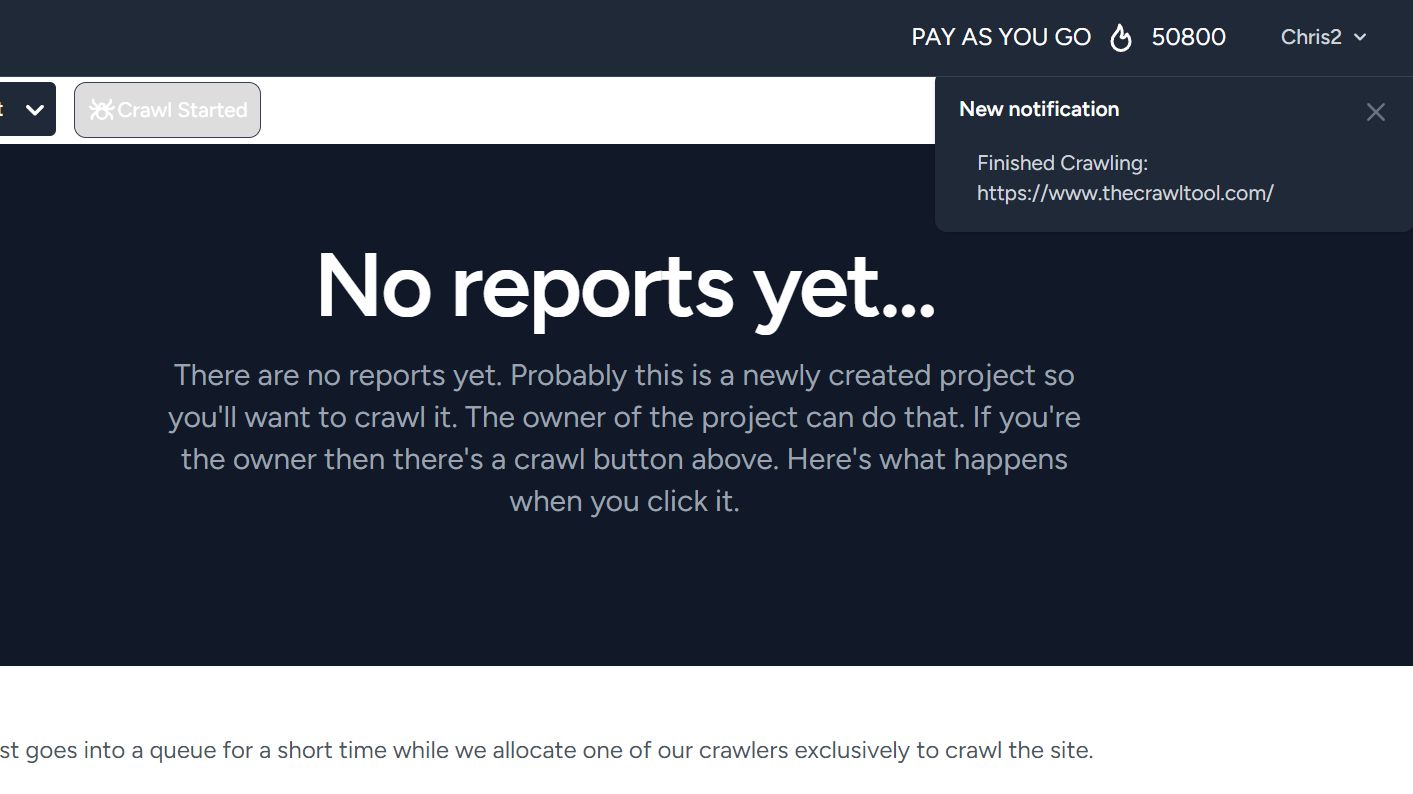
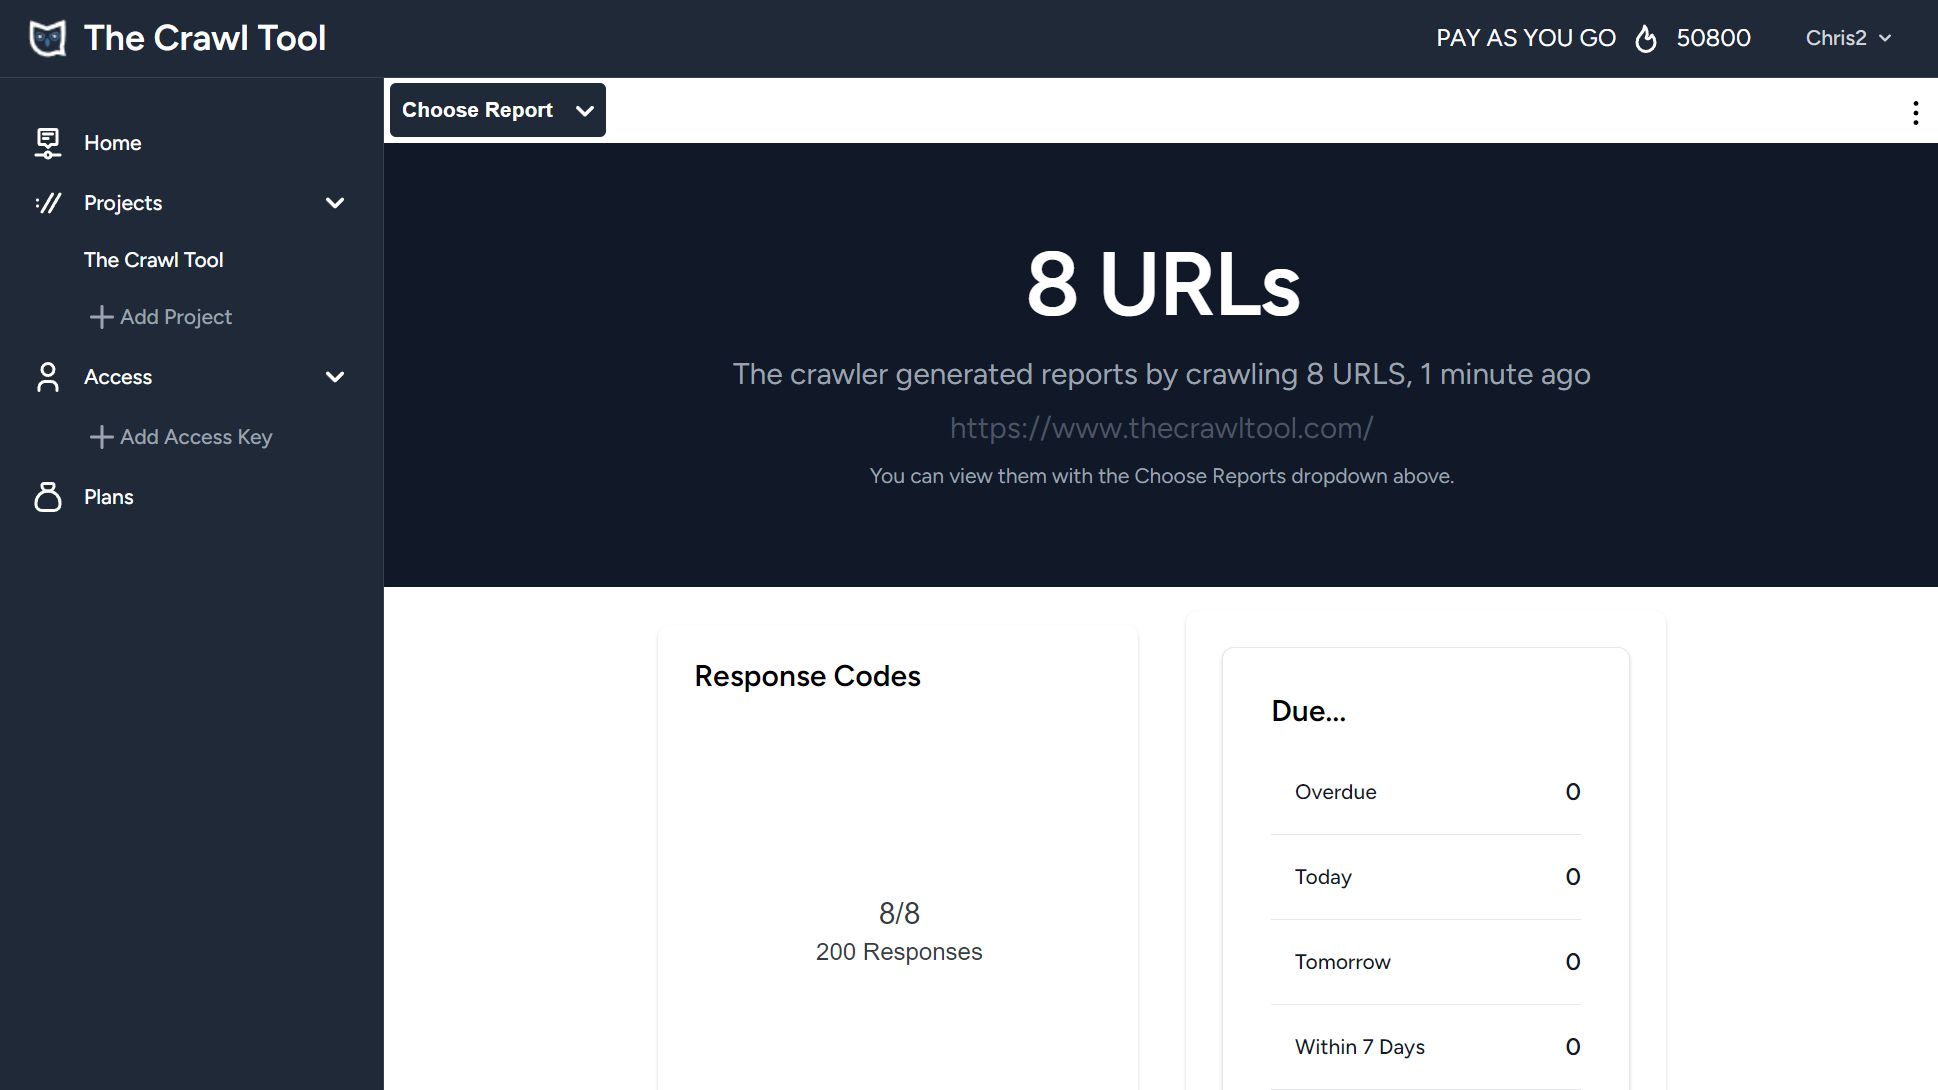
Because the project is crawled, the data has changed. If you followed a link from the email that says it has finished then you'll see it straight away. Because we've stayed and watched the notifications for this one, we need to click "The Crawl Tool" on the menu on the left. This will take you to the project dashboard, we'll go over this in later sections of the guide.
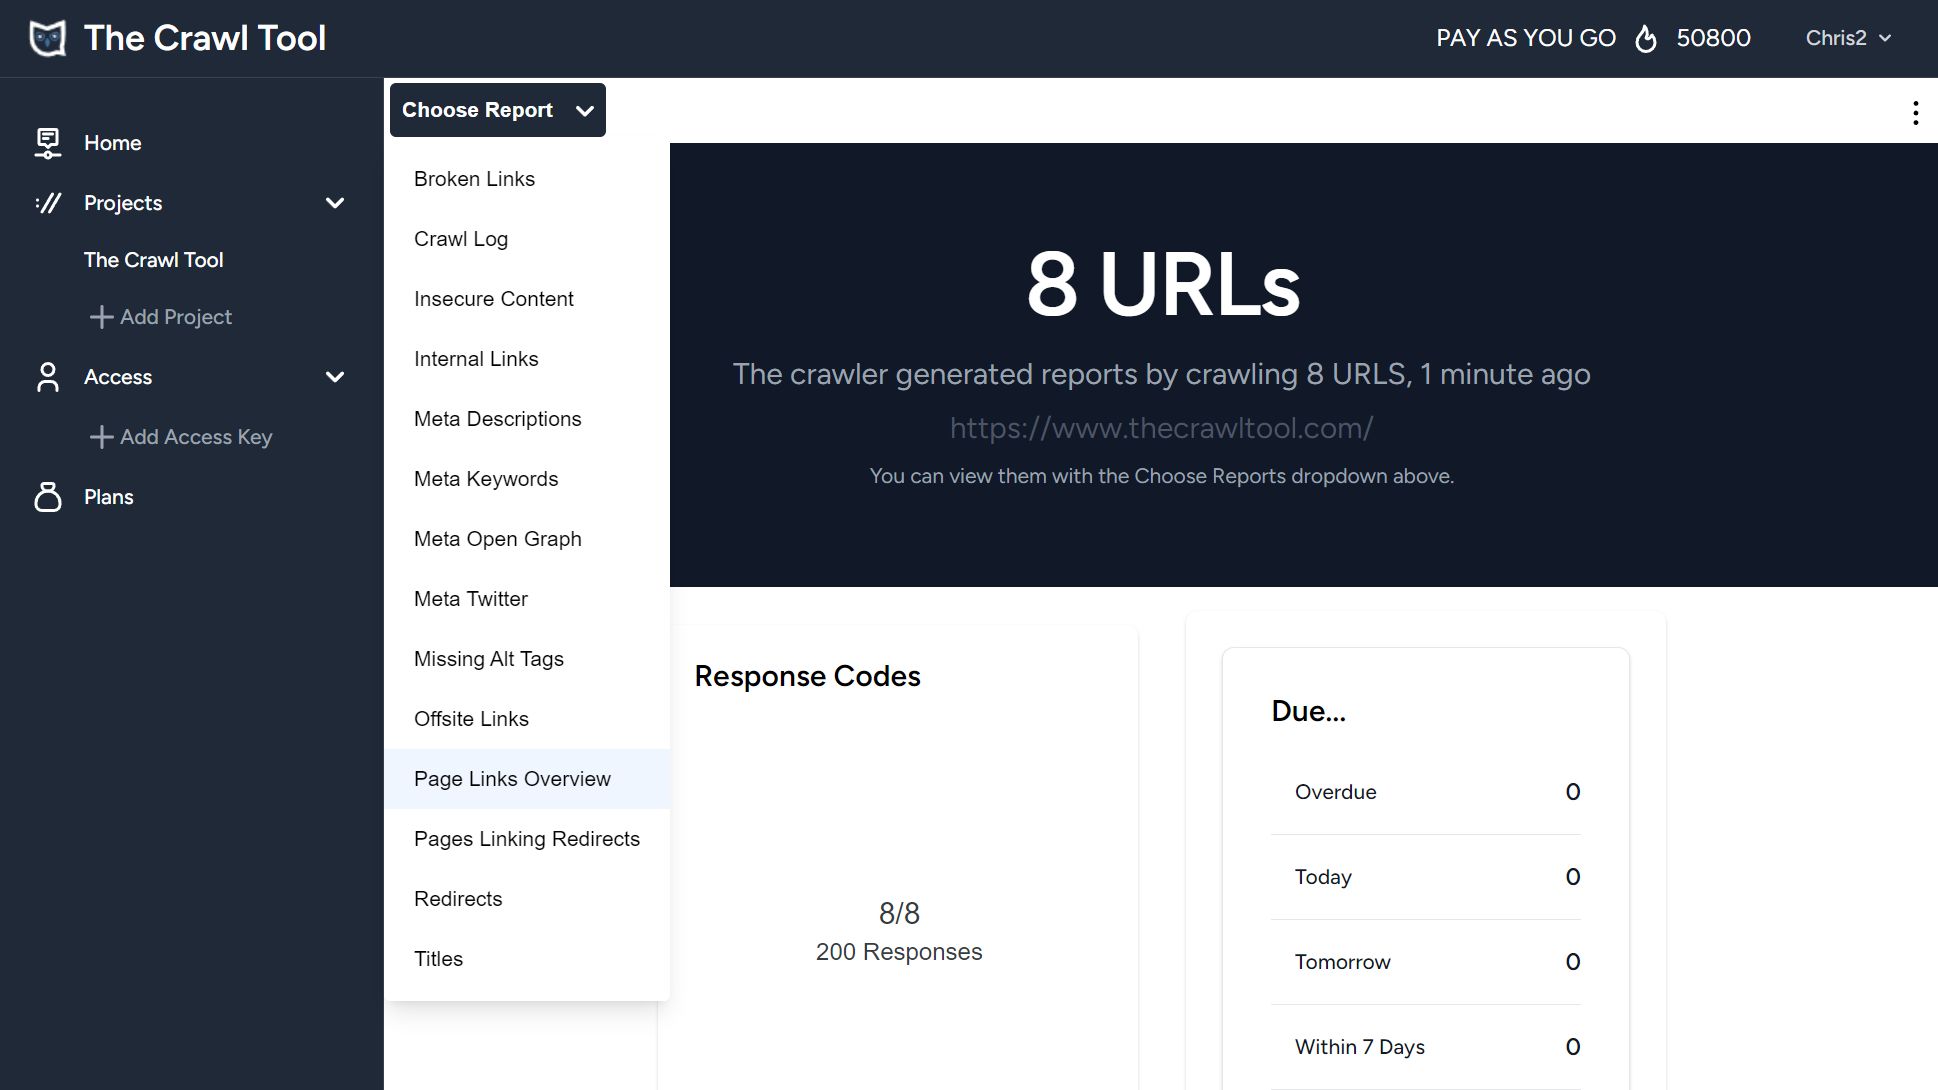
For our demonstration now, we're interested in the Page Links Overview report. You can get to that from the "Choose Report" dropdown button at the top left of the page.
Here's what the report looks like. This report gives us data about all internal and external links.
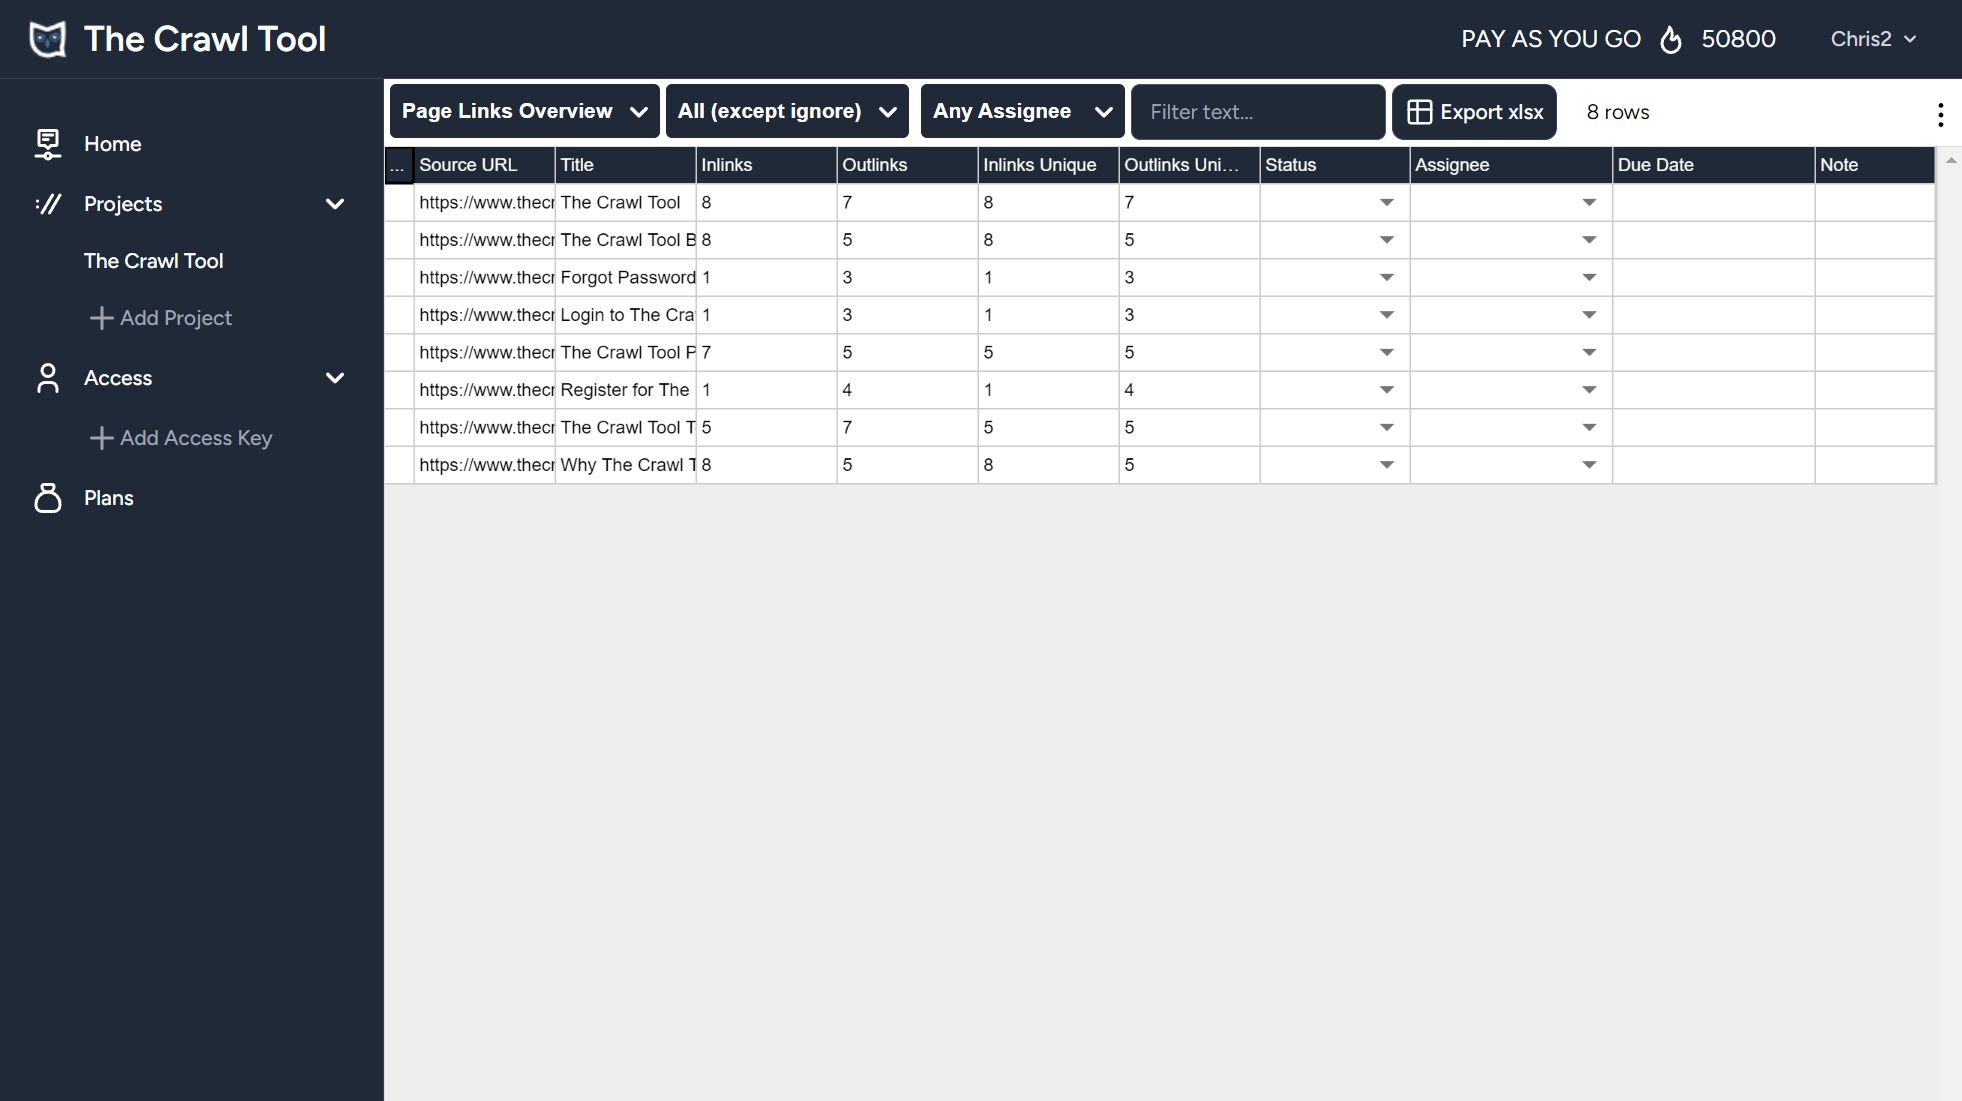
The data grid works like a regular spreadsheet - so first I'm going to resize some columns so we can see the data we're interested in a bit better.
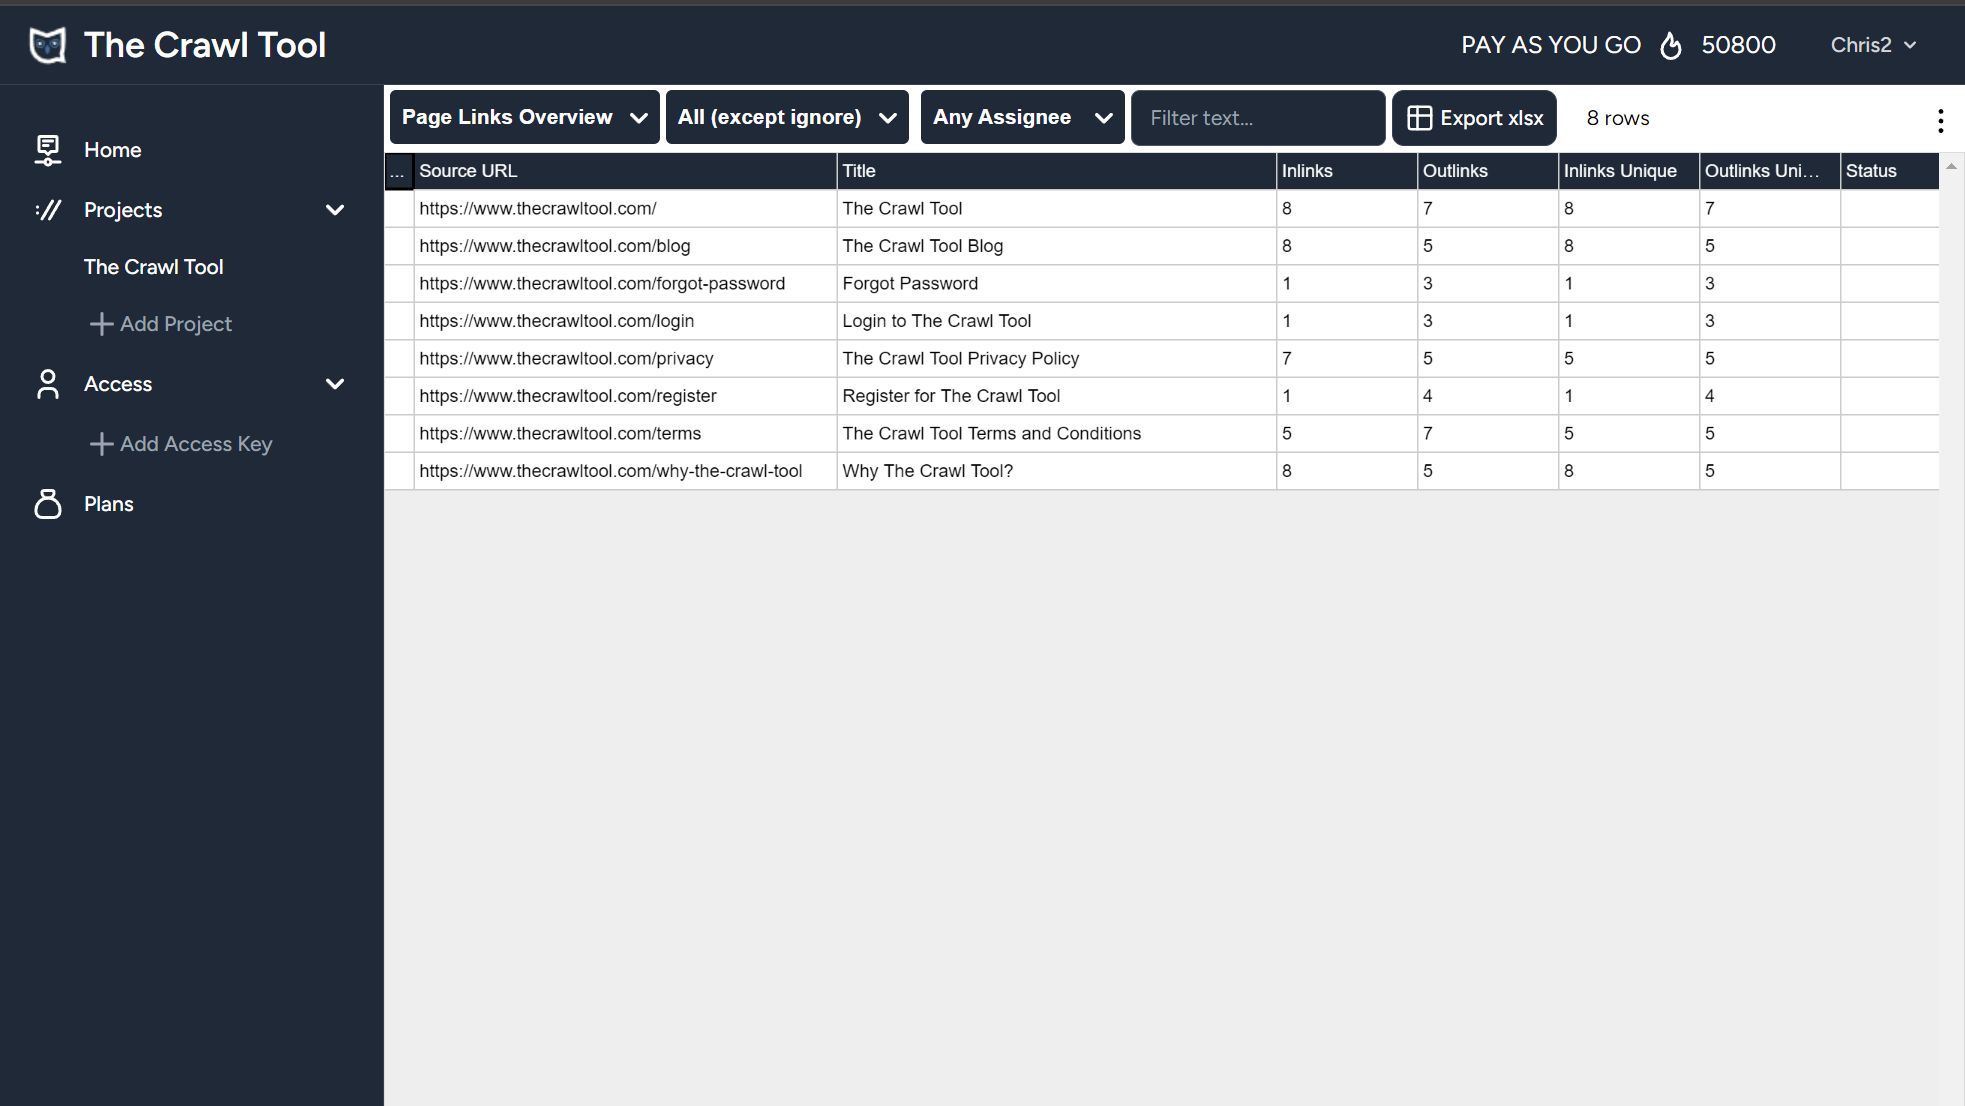
We're interested in how many internal pages link to other internal pages, these are known as inlinks. Our theory is that the ones with the most inlinks are the most important for the website. But pages could link to other pages multiple times, and often do. So in this scenario we'll choose to use "Inlinks Unique", which only counts one link from each page to another. Clicking on a column header sorts the data. So if we click "Inlinks Unique" twice it will sort from highest value to lowest value, putting the most important pages at the top.
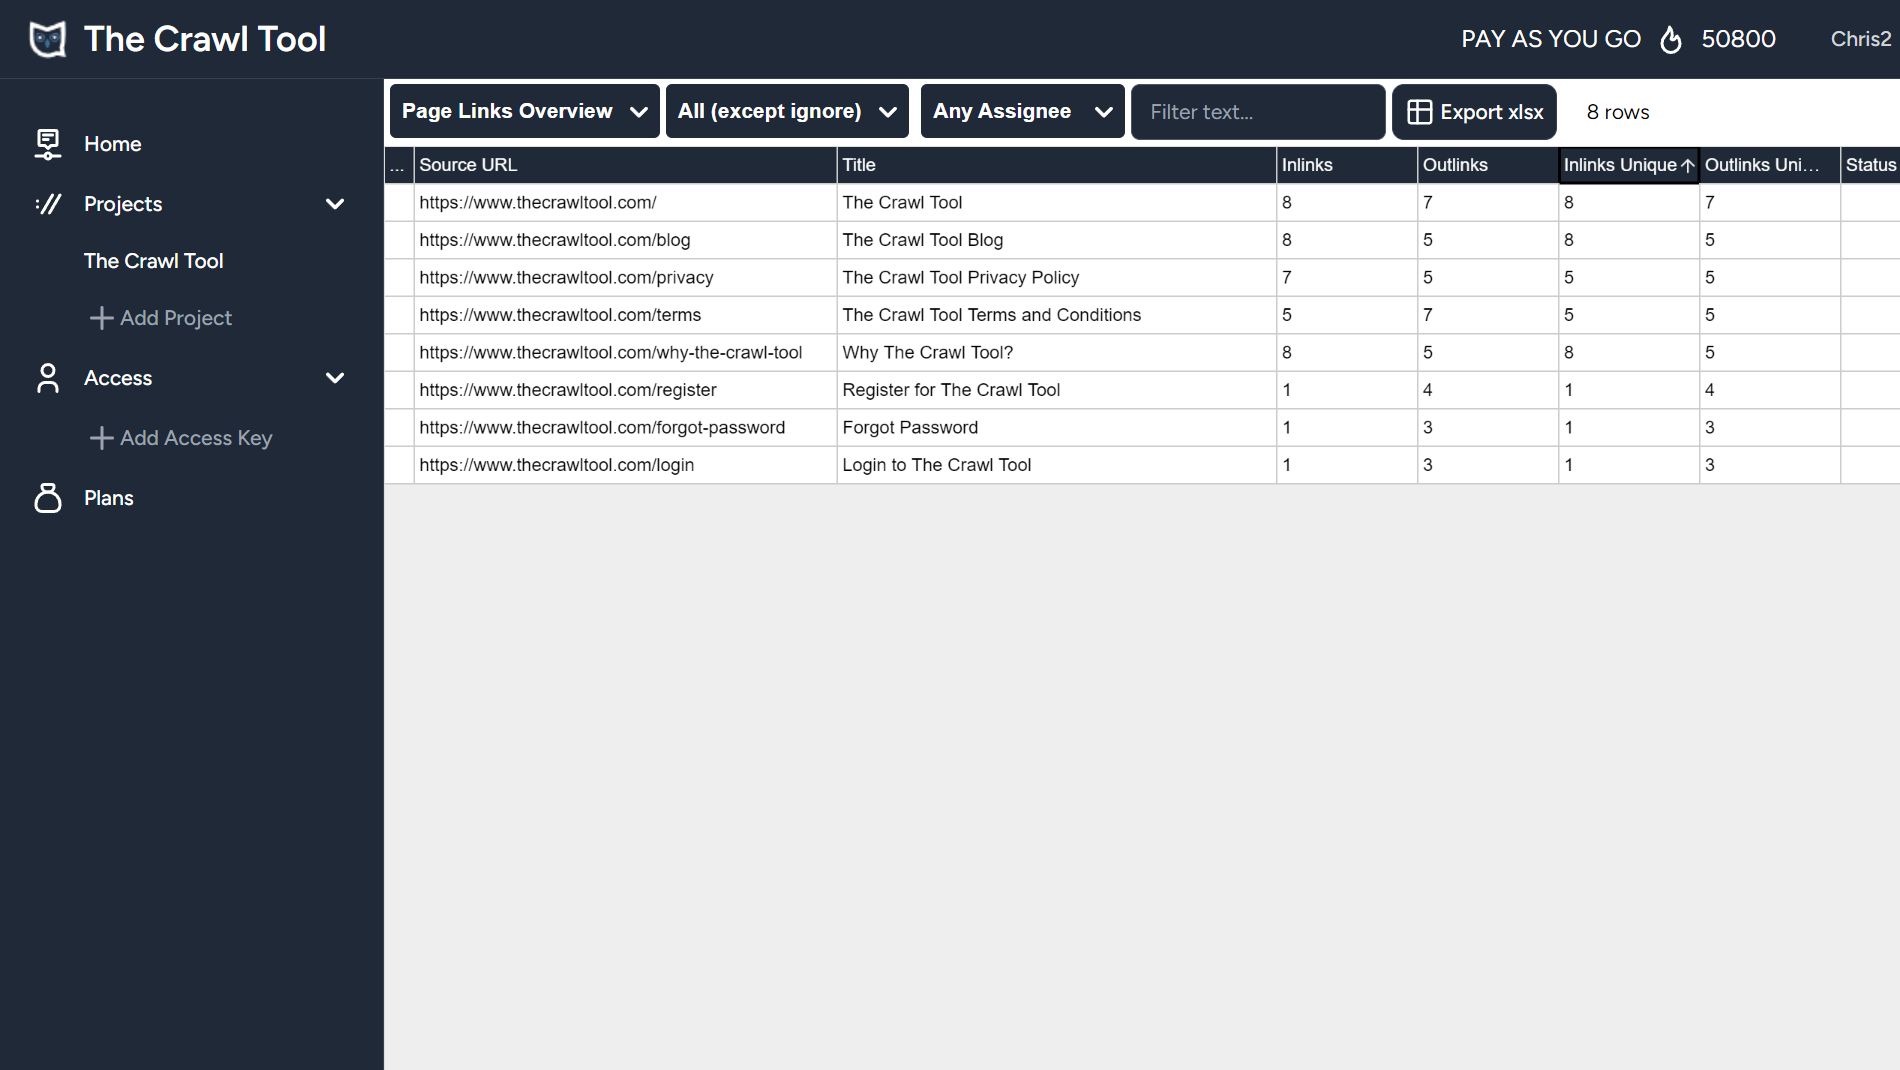
For us the Home Page and Blog page seems the most important. That seems right. There's not a lot of data here, but it serves as a good example. If you used your own site then you will probably have more.
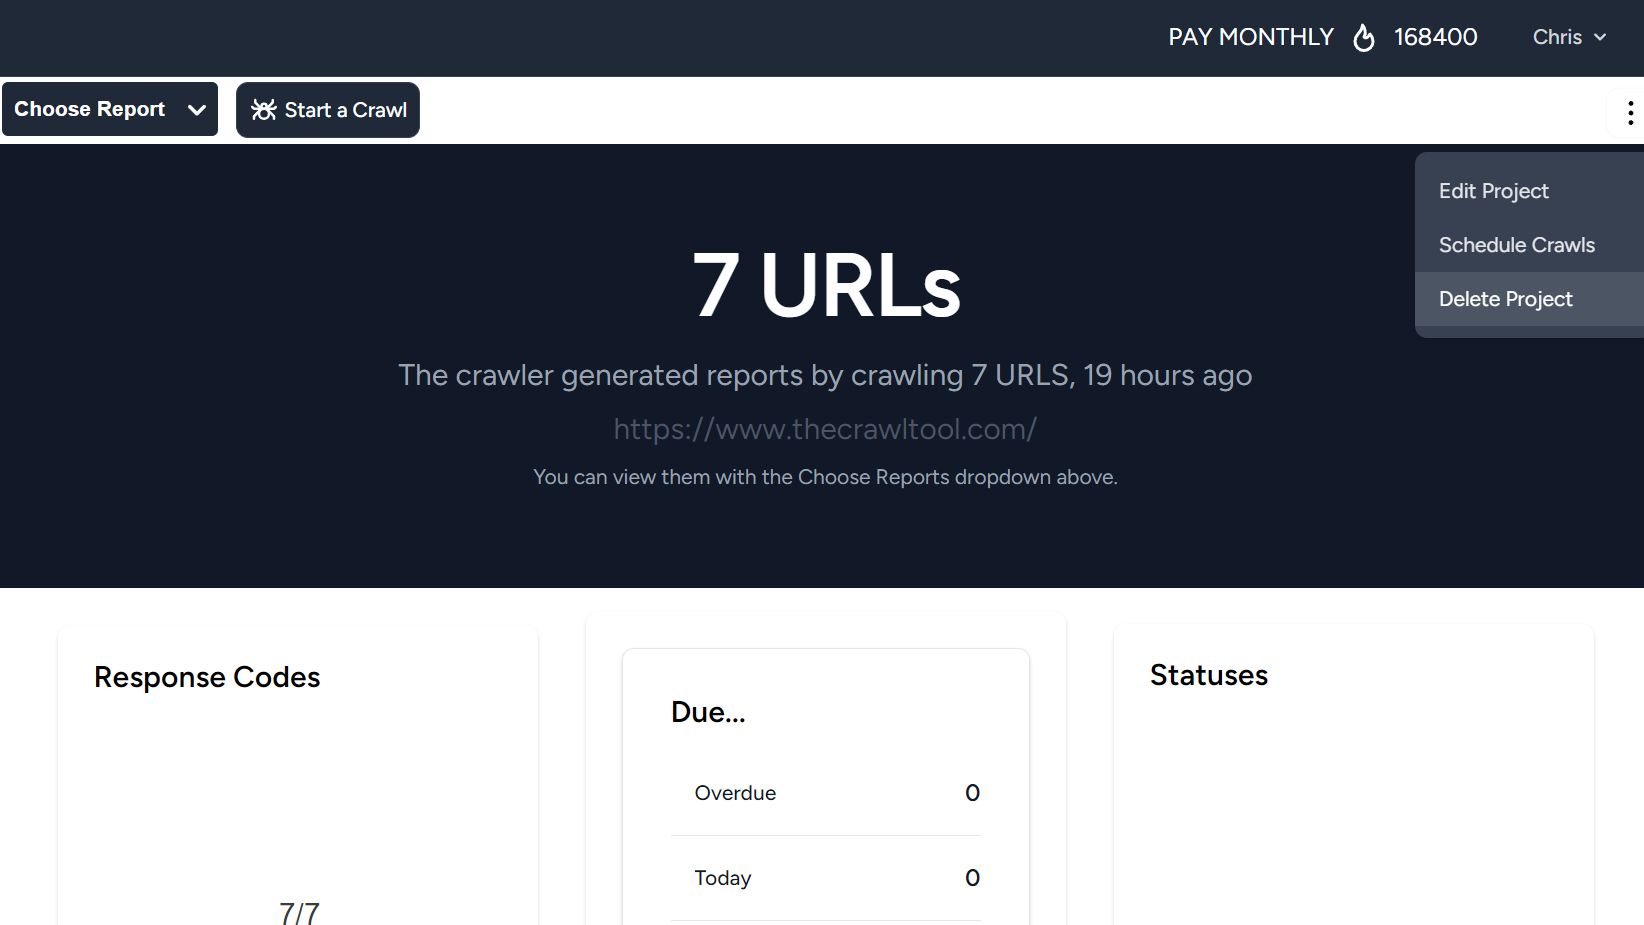
If you followed along using our site, you might want to delete the crawl of our site and try your own.
To do that: You can click on "The Crawl Tool" under projects to go to the project dashboard. Then from the three dots menu at the top right, choose "Delete Project". After that start a new project and follow from the top of this guide.
